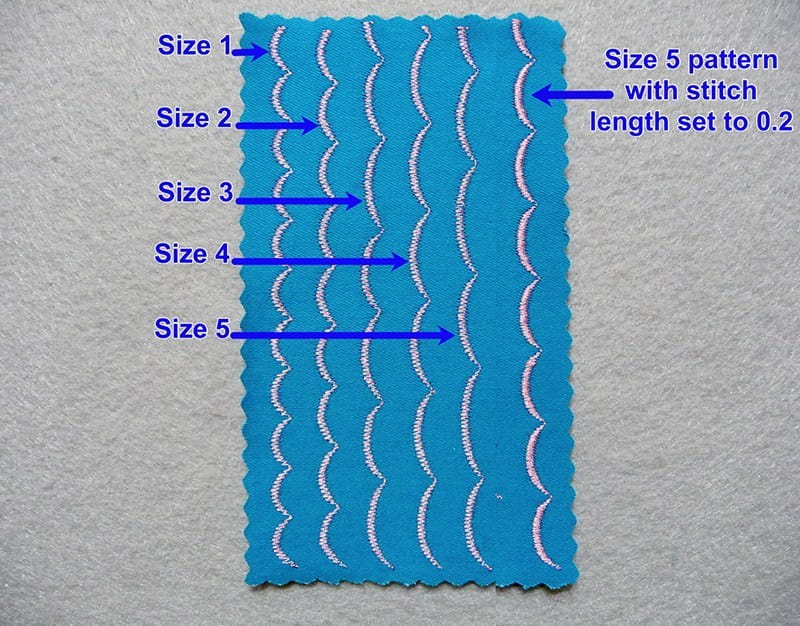
Elongation style stitches are much more fun than their rather technical name implies. The term elongation simply means that patterns in this category of decorative stitches can be re-sized in a range from 1 to 5. As they are re-sized, the pattern or shape of the stitch is maintained. Examples in the photo above show patterns stitched out in all the different sizes. Although the size varies, the density remains the same and the general shape of the stitch does as well. Depending on the size and the stitch selected, different sizes can produce interesting variations. In addition, changing the length of the stitch makes the pattern denser but also shortens the length of the pattern. One of my favorite tricks is to select a larger size pattern and then shorten the stitch length. This results in a fuller looking stitch that is a bit shorter than the original pattern. See examples of sizes below in Figure #1b:
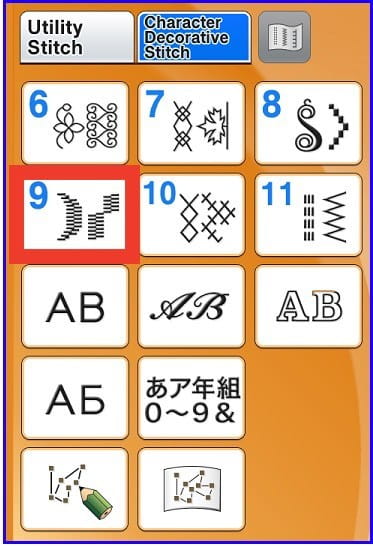
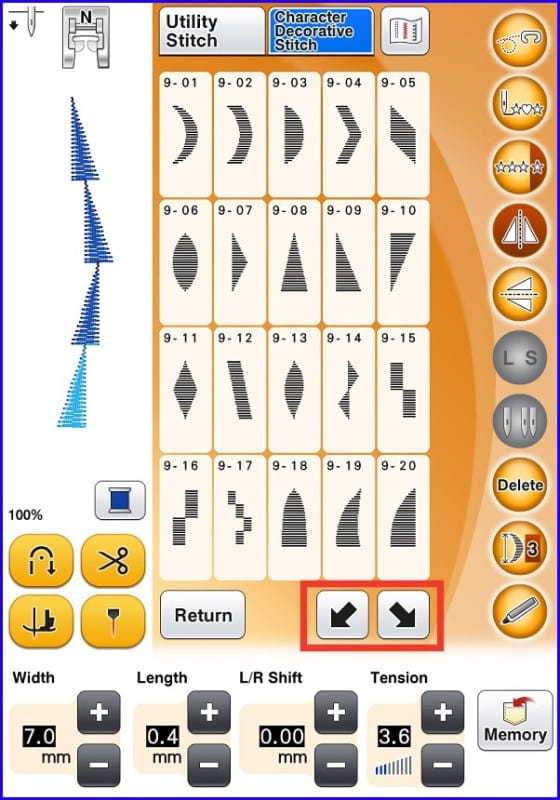
You’ll find these 7mm satin style elongation stitches built into many Brother machine models. They’re located in the Character/Decorative stitch menu of the machine. See examples of stitch menus below in Figure #2a and #2b:
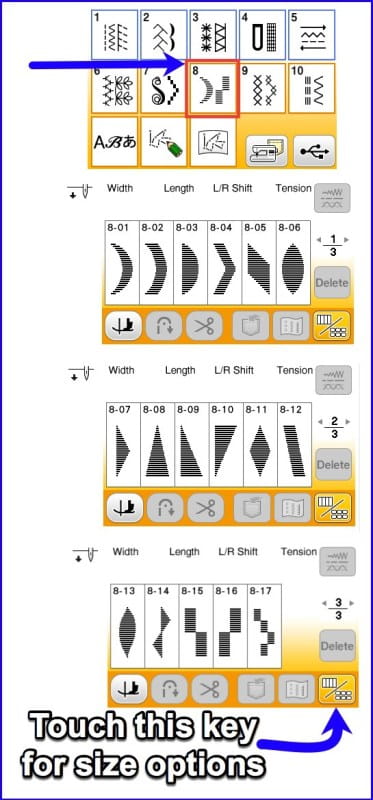
The size key allows for elongating the stitch in a range from 1 to 5.
Some machine models include an additional feature for creating step stitch patterns. This technique allows for moving stitch patterns left and right to sew wide patterns with multi-directional stitching. See Figure#3 below:
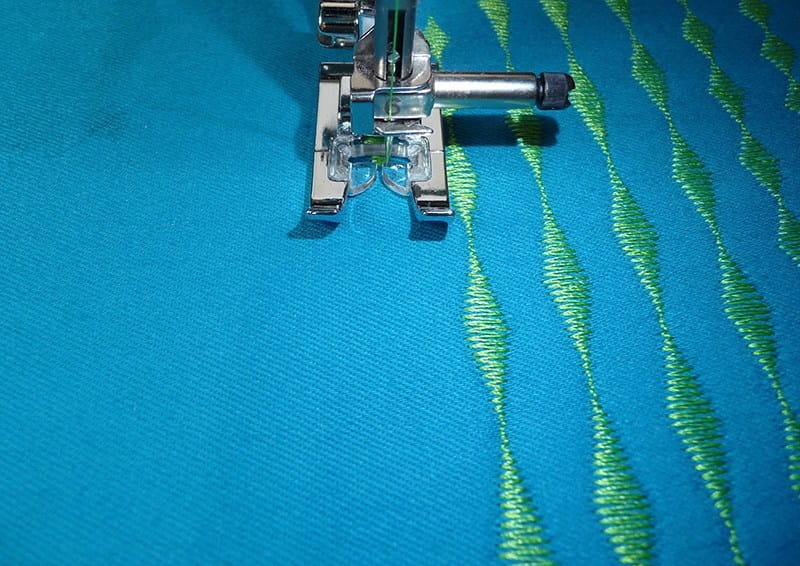
Remember to change to presser foot “N” when sewing these decorative stitches. This foot has a groove on the underside, so it flows easily across bulky satin stitches. See Figure #4.
It’s also important to be sure fabric is firm and well stabilized before sewing these decorative stitches. A layer of tear-away stabilizer is a good choice for many situations. Be sure to test stitches on scraps before sewing your actual project. Have fun experimenting with elongation stitches, trying different sizes, patterns, and combinations. Enjoy!
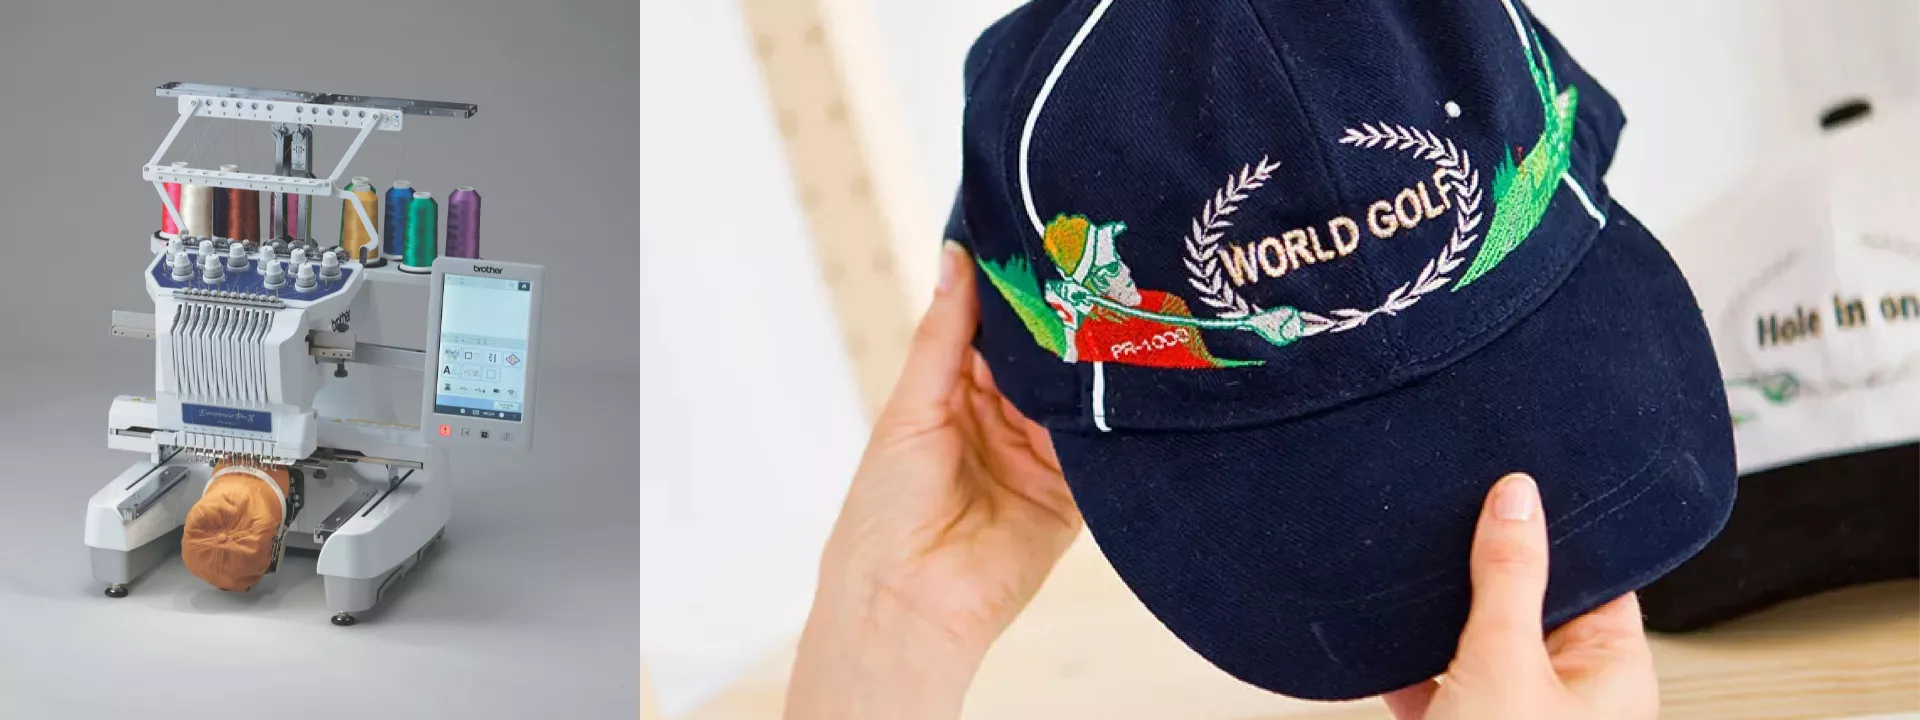
This article has been republished from Brother Sews USA. The original article can be seen here: http://blog.brothersews.com/tips-tricks/elongation-stitches/