Functionality of Brother’s P-touch Design&Print 2 app
Table of contents
Basic usage
1. Text and images label creation
In Brother’s P-touch Design&Print 2 app, text boxes can be arranged vertically using the column function.
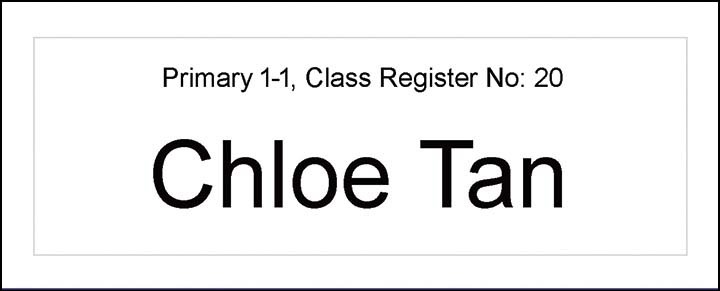
For example, let's create the following label.
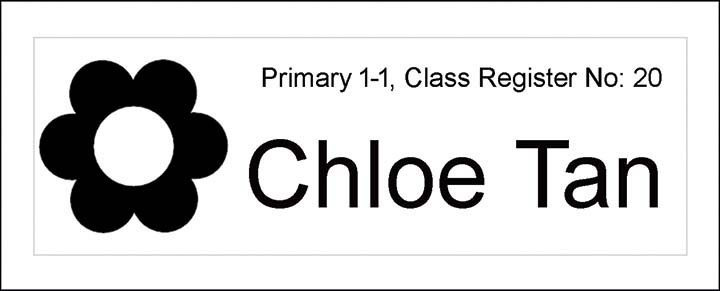
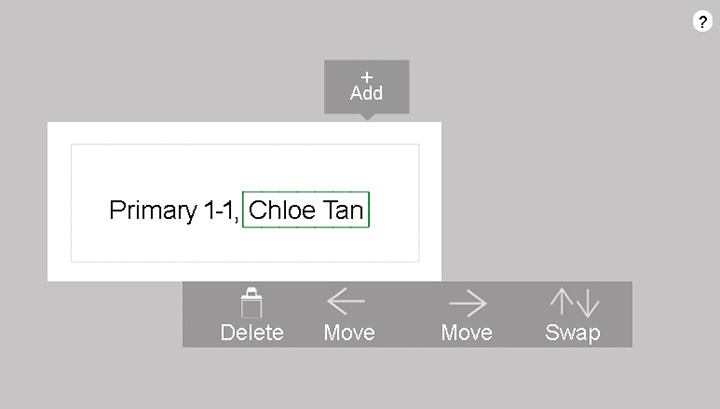
On the label creation screen, insert two text boxes, “Primary 1-1”, and “Chloe Tan”. Select “Move←” to adjust the text box of “Chloe Tan”.
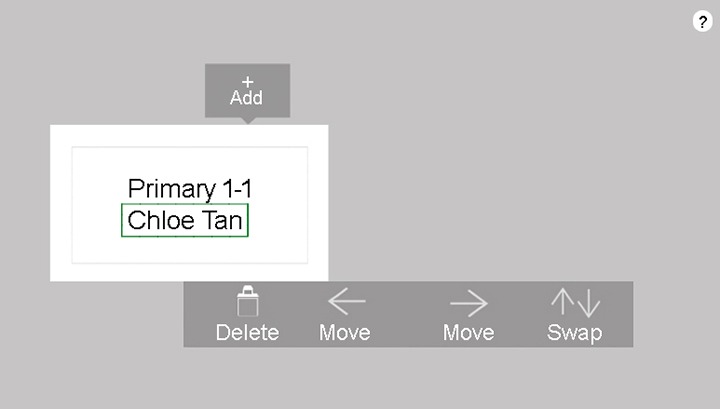
The text boxes can be lined up vertically.
Key in “Class Register No: 20” in the same text box of “Primary 1-1”. You can change the font size, font type, and character alignment for each text box.
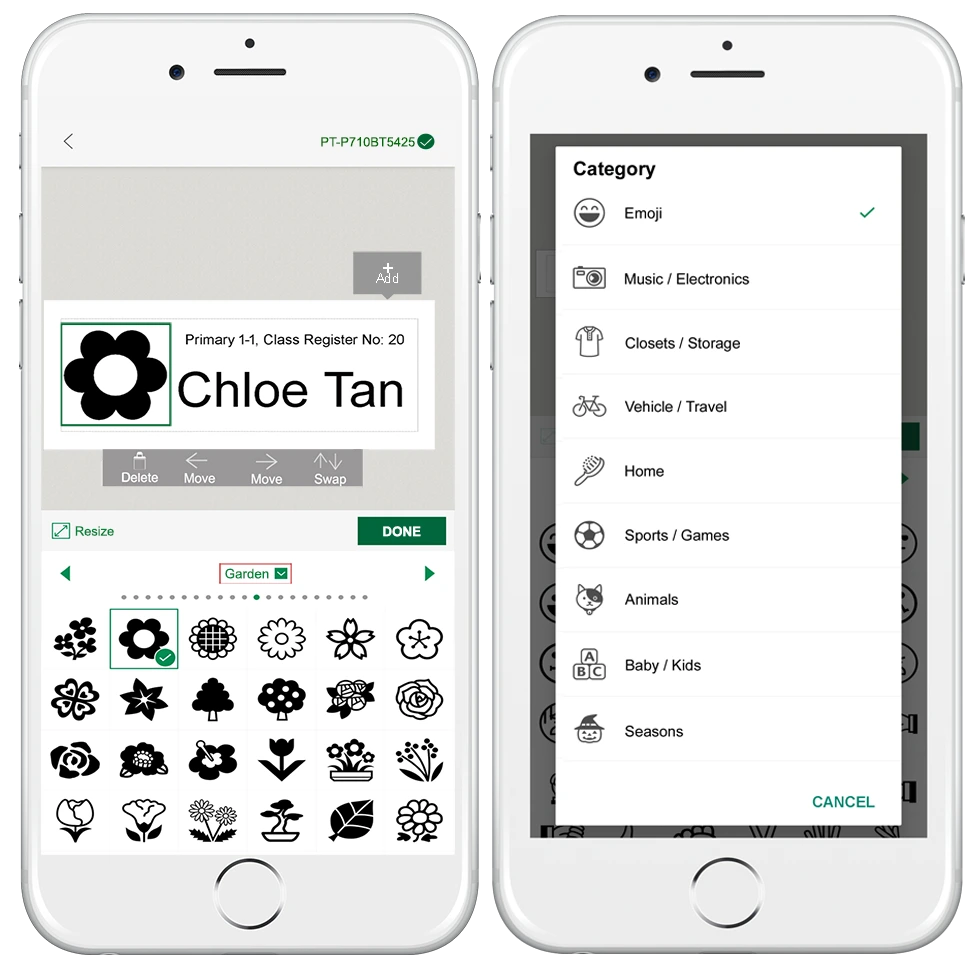
Insert a flower clipart by moving the position to the left side of the label using “Move ←". Adjust the position of the text to a centralised location.
You can arrange up to two text boxes vertically. Create a new text box to add in more row.
2. Automatic Tape detection
The width and colour of the tape set in P-touch Cube label printer can be automatically detected and reflected on the screen. Tap on "Print Settings" and “Check media” for tape width and colour detection. (This explanation uses an AndroidTM device, but the same applies for iPhone® and iPad®.)
“Check media” function reflects the actual tape colour and width in the label printer.
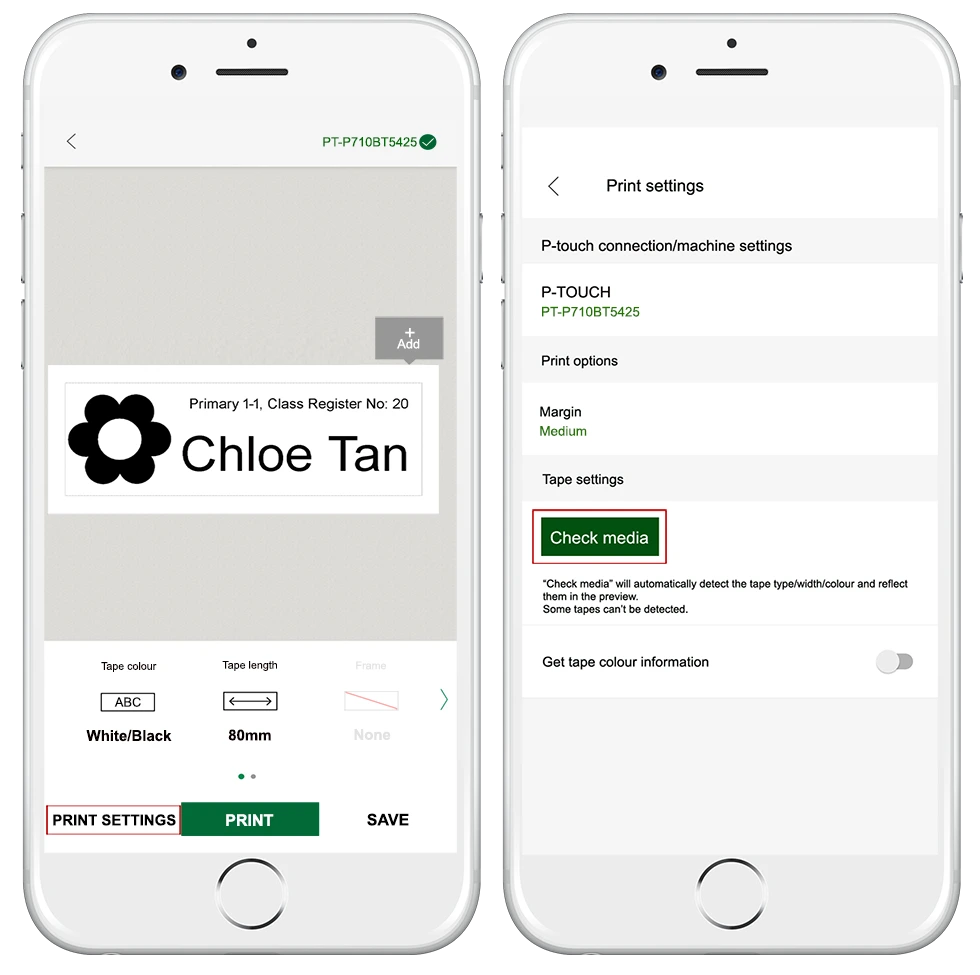
Turn on "Get tape colour information" for automatic tape colour and width detection.
An alert will be displayed when the actual tape width and colour in the printer do not match with the tape width and colour set on the screen.

3. Clipart category list
Browse a wide variety of graphic images from the clipart category list.
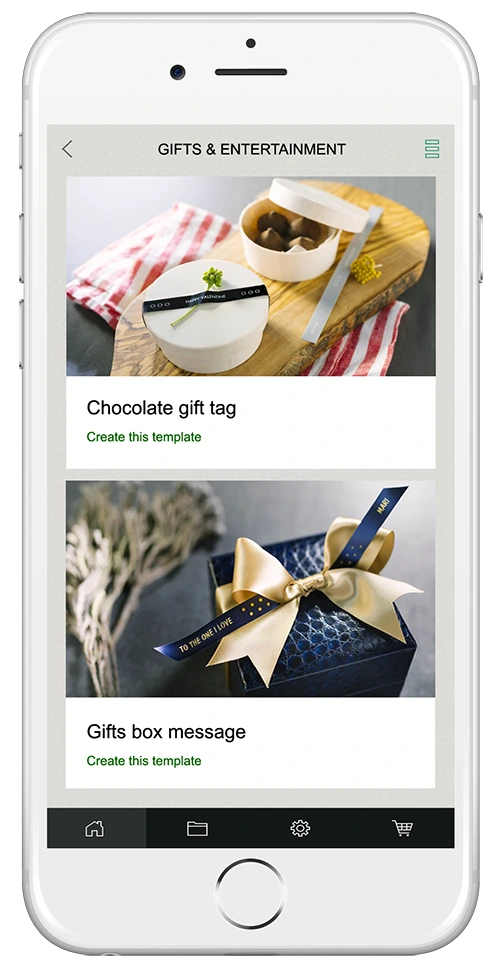
4. Template list
Select the three green lines located at the top right of the screen to explore a list of templates.
5. How to reduce Tape margin
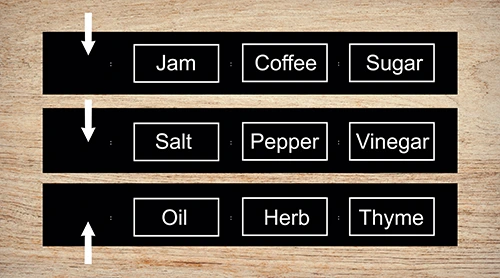
Due to the mechanical structure of the laminated label, there will be a margin at the beginning of each label after print. If two or more labels are printed, the tape margin can be reduced by changing the “Margin” to “Narrow” in “Print settings” for the second and subsequent labels.
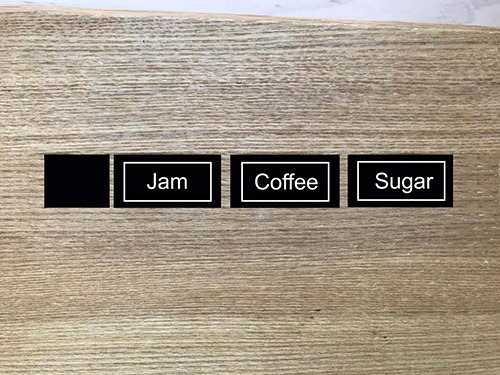
For PT-P300BT
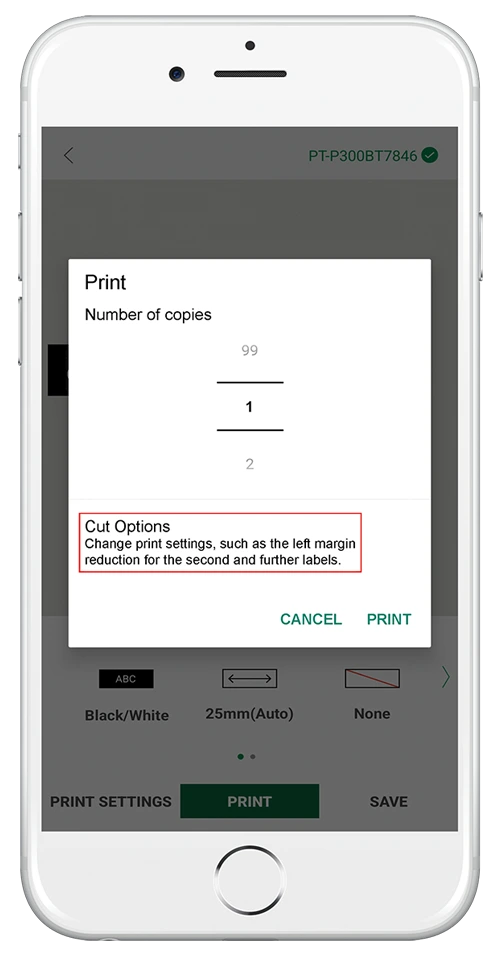
For example, to print labels with different contents as shown in the above picture, select "Cut Options" shown below which will appear after “Print” is selected.
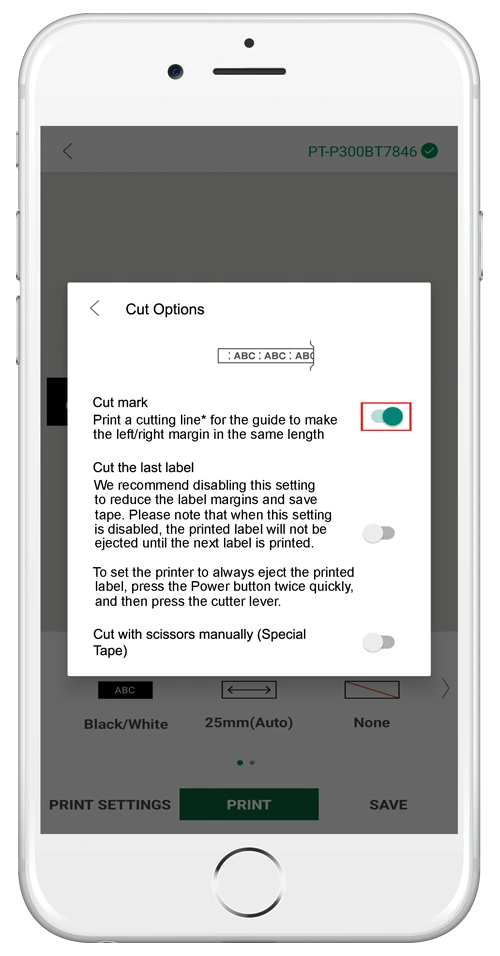
Set “Cut mark” to on. Print out the first and second labels.
Before printing the last label, select “Cut Options” and set “Cut the last label” to on.
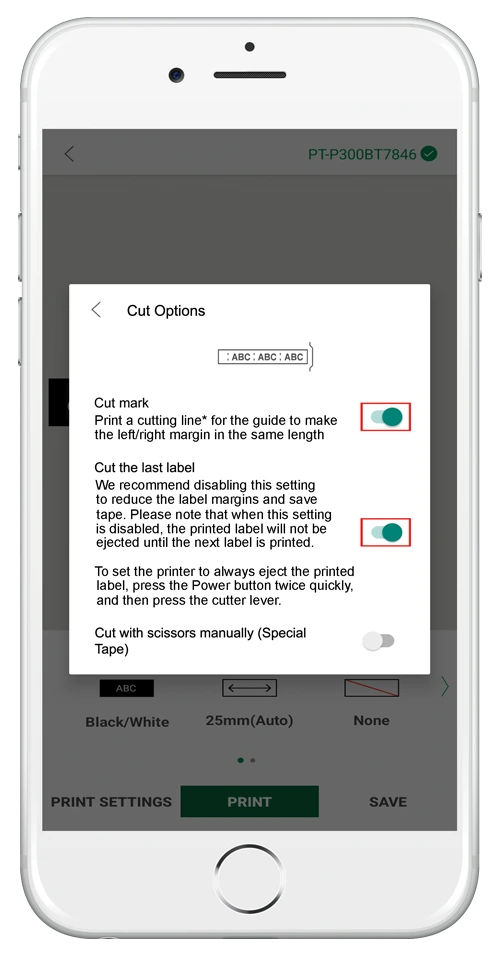
In case the cut option is not set to “Cut the last label”, press the power button for 2 consecutive times as shown below to cut the last label.
Then cut along the cut marks with a scissor. There will be a very narrow margin on the second and subsequent labels which will save on the labels.
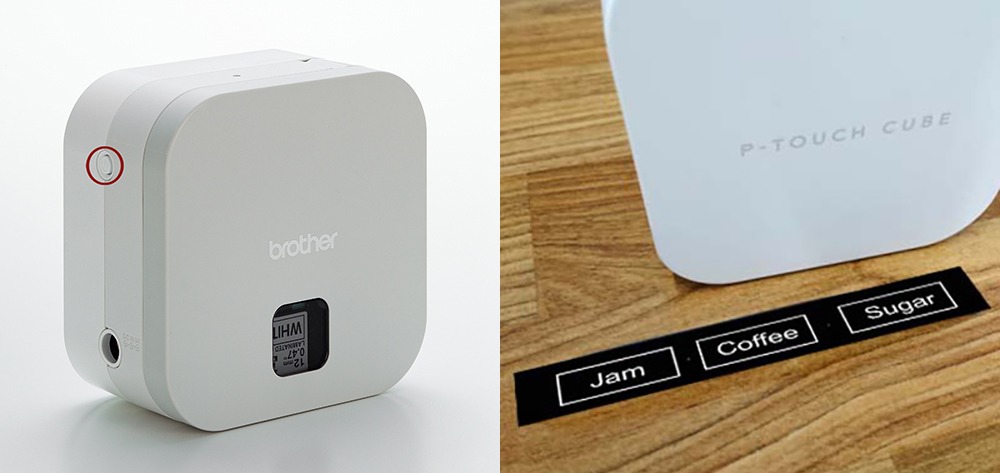
For PT-P710BT
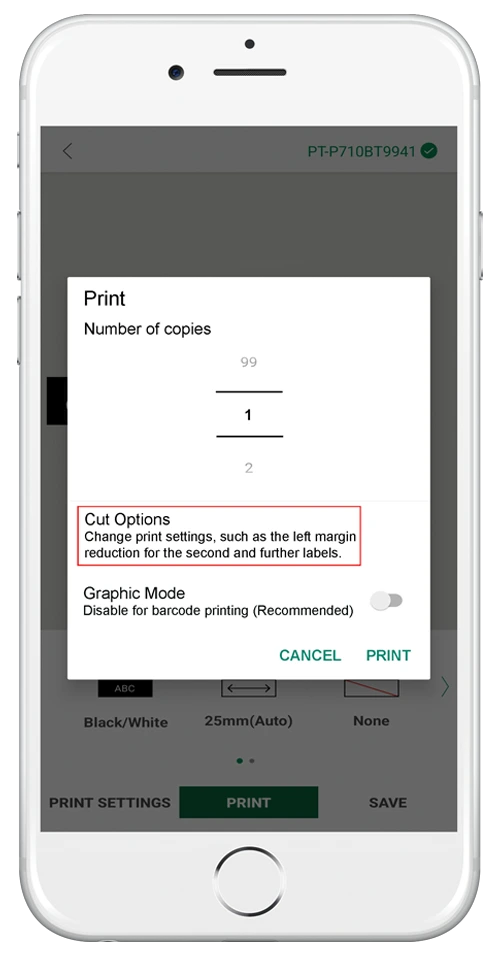
Select "Cut Options" that will appears after “Print” is selected.
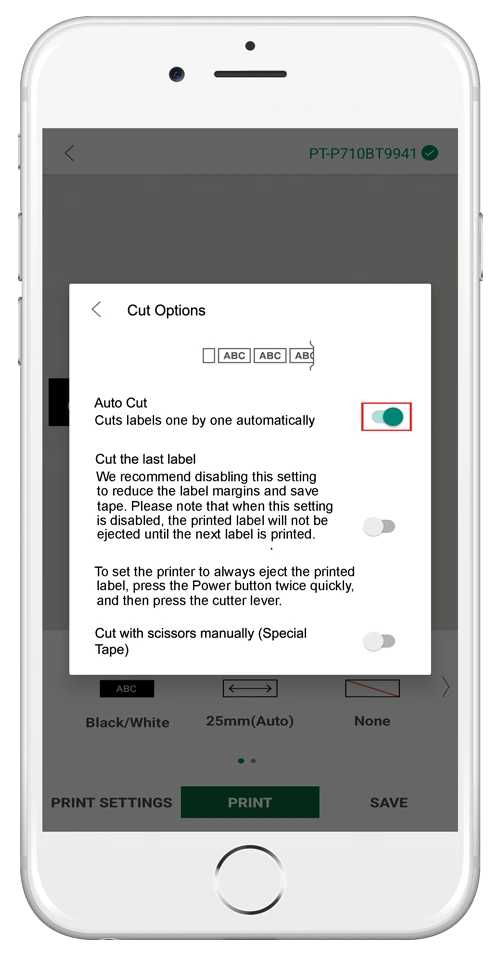
Set “Auto Cut” to on.
Before printing the last label, set "Cut the last label" to on.
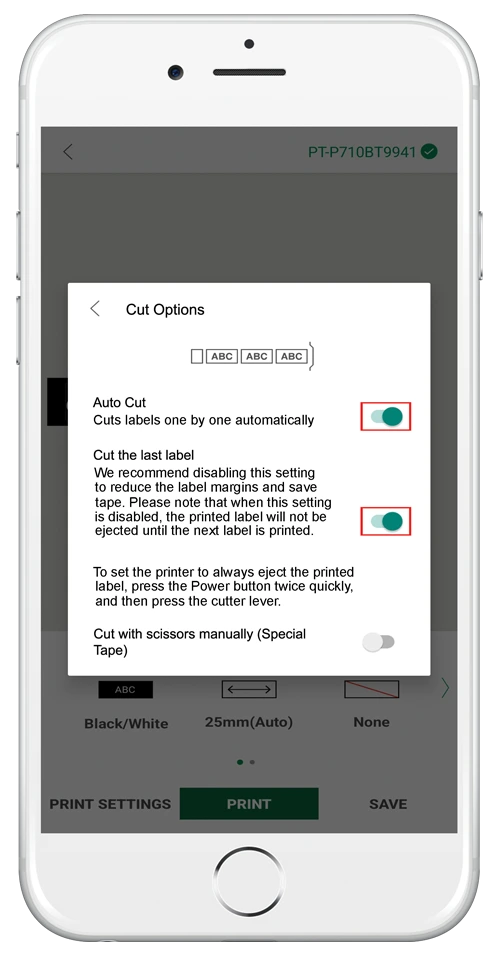
In case the cut option is not set to “Cut the last label”, press the power button for 2 consecutive times on PT-P710BT to cut the last label.
6. How to transfer a label created by Design&Print app to Design&Print 2 app
Transfer the label saved in "Created label" in Design&Print app to Design&Print 2 app. Select "Migrate to Design&Print 2” app from the menu located at the top right of the "Created labels" screen.
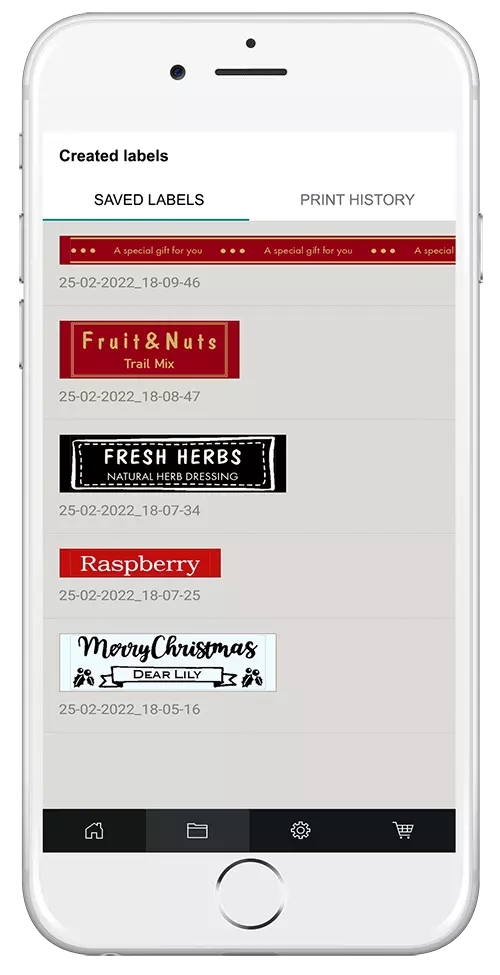
As Design&Print app and Design&Print 2 app have different design formats, the alignment of the label created by Design&Print app may change when transferred to Design&Print 2 app. Hence, adjusting the transferred labels in Design&Print 2 app may be required.
After the migration is done, the labels transferred from Design&Print app to Design&Print 2 app will not be lost.
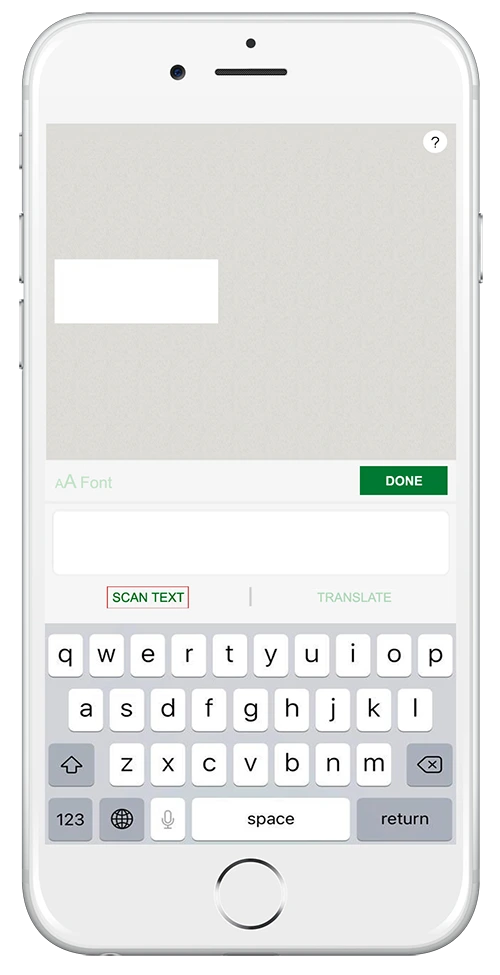
7. “Scan Text” function [PT-P710BT]
Create a label using the “Scan Text” function in Brother’s P-touch Design&Print 2 app with a smartphone camera to do the image capture. It will save on the trouble of manually entering the text.
Recommended applications
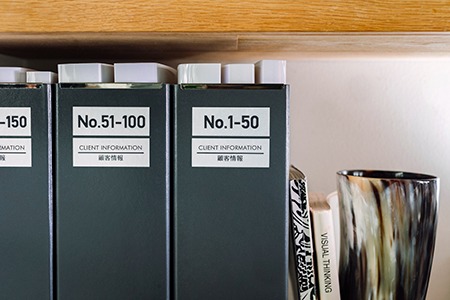
- Read old labels and duplicate the labels.
- Read the text on each page of the file and create an index label for the page.
- Read a business card and create an address label.
- Add a supplementary explanation note to a foreign language (after using the “Scan Text” function to translate it).
How to use
Select “Scan Text” function.
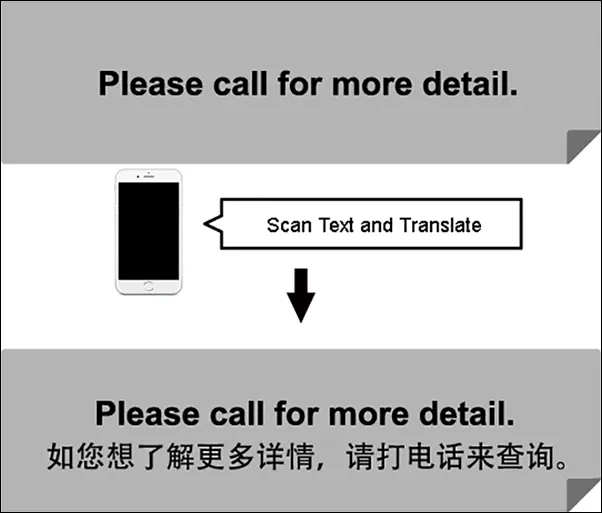
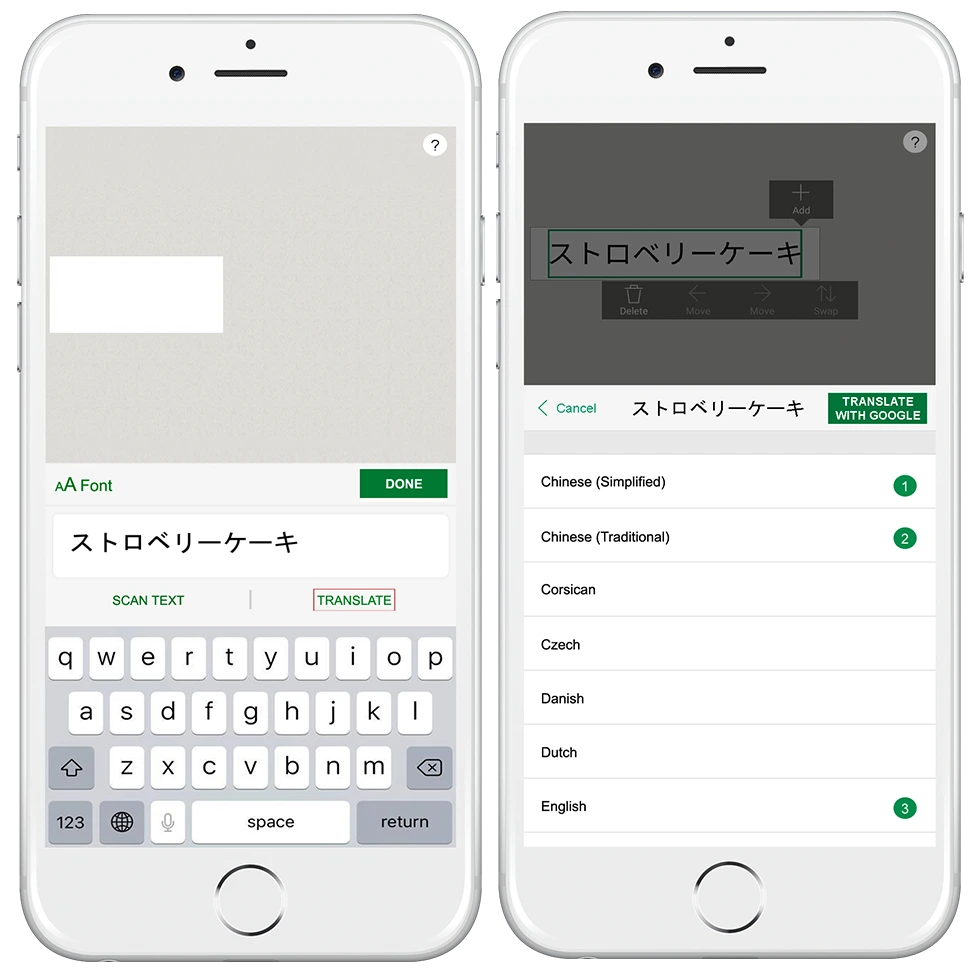
8. “Translate” function [PT-P710BT]
Create foreign language labels for customers from overseas.
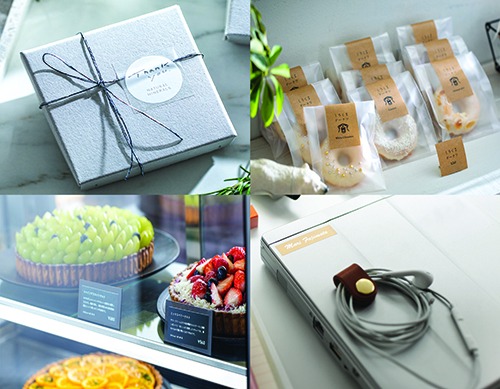
Recommended applications
- For product description of restaurants and shops.
- For supplementary explanation of signs used in facilities and equipment.
How to use
Select “Translate”. Translate up to 5 languages at the same time.
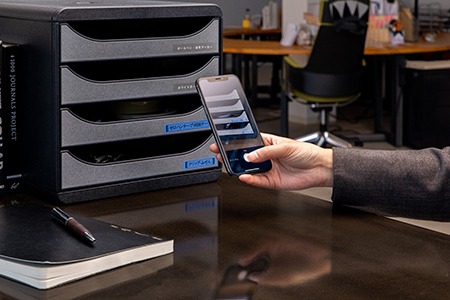
9. “Share Label” function [PT-P710BT]
Share labels with anyone via emails or Cloud.
Recommended applications
- Unify the label design in the head office and branch offices.
- Create a label using a similar template in field without a computer.
How to use
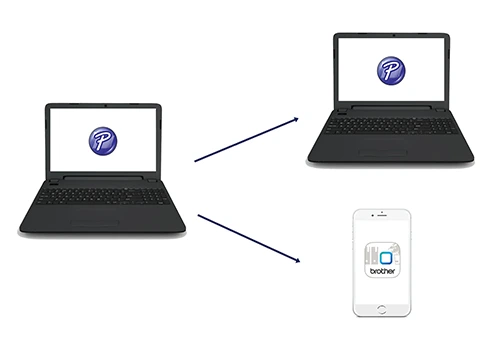
Share label templates with this application.
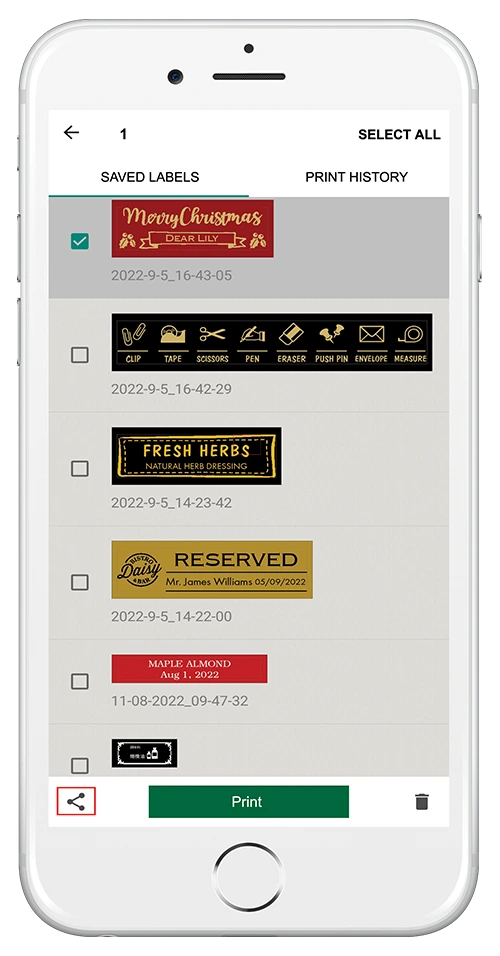
Follow the below steps to share label. Take note especially for AndroidTM devices, hold down the thumbnail on the saved label screen to select and share a label.
AndroidTM device Share Button
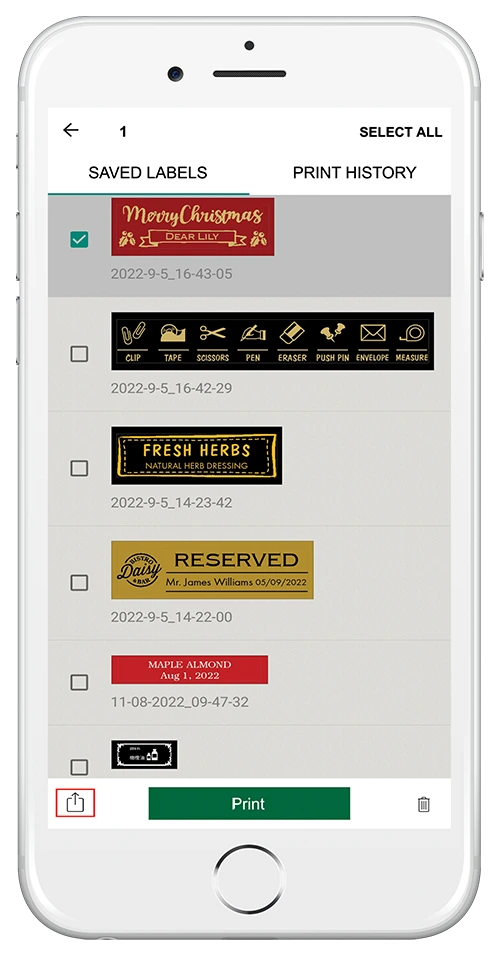
iOS® device Share Button
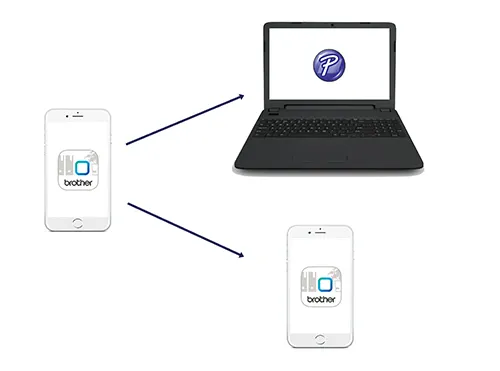
Share the label templates created using P-touch Editor software* in a computer.
*PT-P300BT does not support P-touch Editor software.
Receive and print labels using this application.
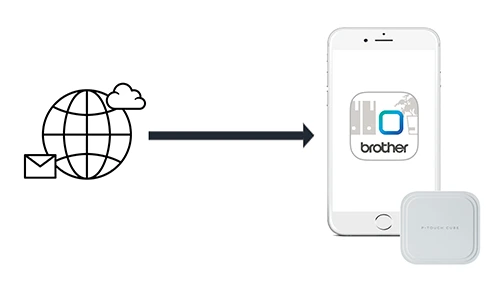
Select the received label data (.lbx file). Select Brother’s P-touch Design&Print 2 app from the Share candidates.
P-touch Design&Print 2
PT-P300BT
PT-P710BT